


Related Products

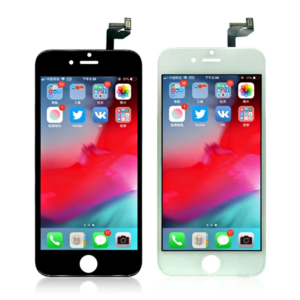
Replacement iPhone 6s LCD Module Display and Touch Screen Digitizer Assembly
Price range: £7.19 through £7.79
Select options
This product has multiple variants. The options may be chosen on the product page

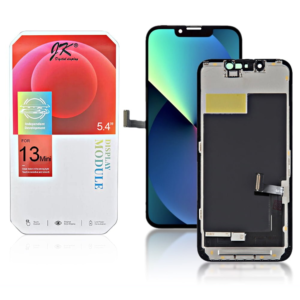
JK FHD Incell iPhone 13 Mini LCD Module Display and Touch Screen Digitizer Assembly
£26.39 Ex VAT
Select options
This product has multiple variants. The options may be chosen on the product page