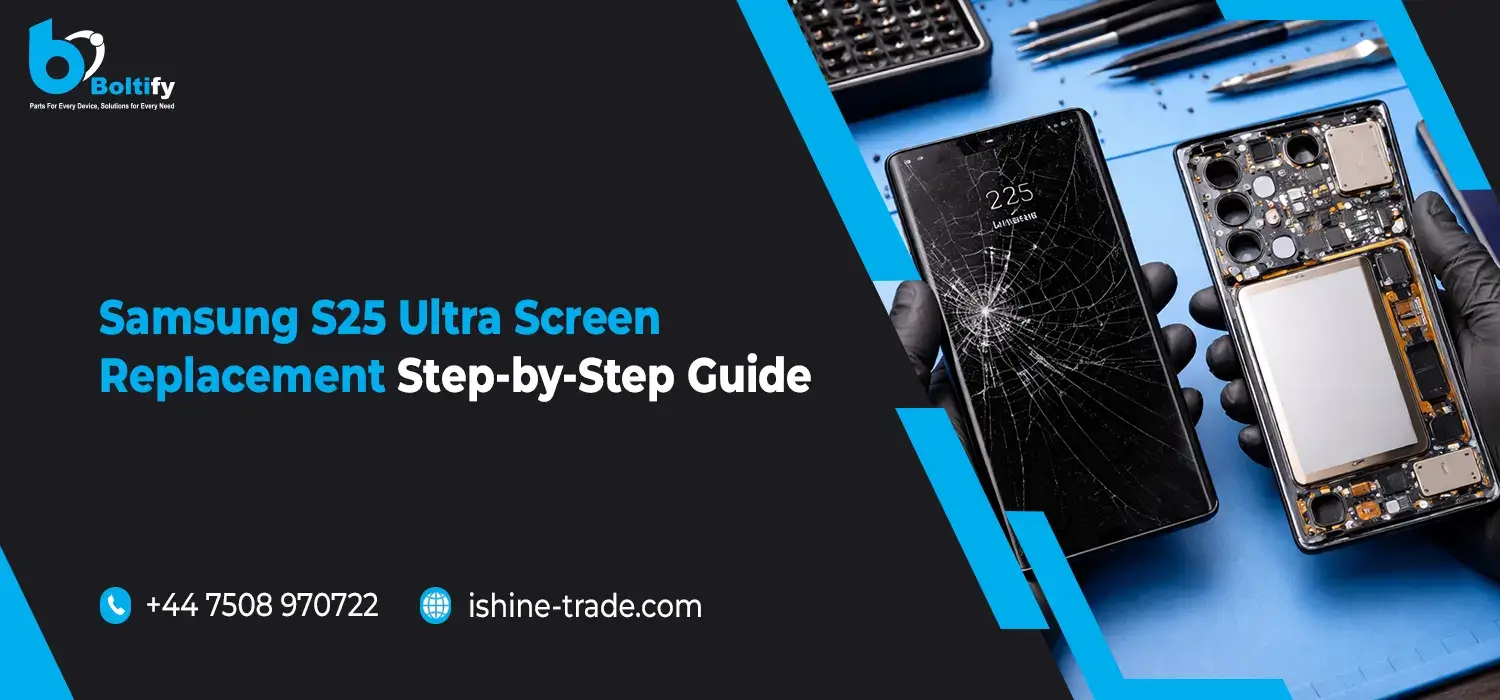
Replacing your Samsung Galaxy S25 Ultra screen may seem like a very daunting task, but it is actually very possible to do it by yourself, provided you have the right tools for the job and are willing to be patient enough to see it through to the end. If your Samsung Galaxy S25 Ultra’s screen is cracked or simply not working as expected, this article will show you how to replace it entirely by yourself.
Why Replace the Samsung S25 Ultra Screen?
One of the most critical parts of your Samsung S25 Ultra is the screen. Over the course of usage, the screens may be prone to damage due to various reasons such as accidental fall, extreme weather conditions, and natural aging. In such cases, it is imperative that you replace the screens to ensure the optimal performance and quality of your device.
Replacing the screens not only improves the usability of your device, the Samsung S25 Ultra, but also improves its aesthetic qualities. Here are the tools and steps required to replace the screens of your device, be it yourself or a professional.
Tools and Materials You’ll Need for Samsung S25 Ultra Screen Replacement
Before you begin replacing the screen, make sure you have the following tools and materials:
- Small Phillips and Pentalobe Screwdrivers – These will help you remove screws from the phone’s body.
- Plastic Pry Tools – Use these to carefully detach the screen without damaging it.
- Suction Cup Tool – This is essential for lifting the screen without causing cracks.
- Tweezers – To handle small internal components and connectors.
- Heat Gun or Hair Dryer – Used to soften the adhesive, making it easier to remove the screen.
- Replacement Screen – Ensure that the replacement screen is specifically designed for the Samsung S25 Ultra.
- Adhesive – To reseal the screen after replacing it.
- Anti-static Wrist Strap – Protects your phone from static damage during the process.
- SIM Card Ejector Tool – To remove the SIM card tray before disassembly.
Also check: iPhone 14 Pro Max Screen Replacement: Everything You Need to Know
Step-by-Step Process for Replacing the Screen on Samsung S25 Ultra
Step 1: Power Off Your Samsung S25 Ultra
The first step in the repair process is to make sure you power off your phone. This is an important step to avoid the chances of short circuits and powering up of your phone during the replacement process.
Step 2: Remove the SIM Card Tray
Using your sim ejector tool, you can now remove your sim card tray. This is important to avoid damage to your sim card slot.
Step 3: Heat the Phone’s Edges
To make the process of removing the screen easier, you can heat the edges of your phone screen using a heat gun or a hairdryer. Hold it 5-10 cm away from the edges of your phone screen and apply it for about 1-2 minutes.
Step 4: Use the Suction Cup Tool to Lift the Screen
Using your suction cup tool, you can now lift your phone screen. You can attach it to the edge of your phone screen and gently pull it to create a gap between your phone screen and body. Once you have enough space, you can now use your plastic pry tool to remove your phone screen from your phone body.
Step 5: Remove the Screws and Internal Components
As you open your phone screen, you may find screws to be removed to access your internal components for dissembling. You should use your screwdriver to remove these screws.
Step 6: Disconnect the Battery and Display Cables
Next, you should disconnect your phone battery and display cables. It is very vital to handle these components with utmost care to avoid damaging your phone’s motherboard or phone screen.
Step 7: Remove the Broken Screen
After disconnecting all your screws and cables, you should now lift your damaged phone screen from your phone body.
Step 8: Install the New Screen
As you prepare to install your new replacement phone screen, you should first remove any protective film from your new phone screen. Before placing your new phone screen in your phone, you should apply adhesive to your phone frame edges to ensure your new phone screen fits perfectly in your phone.
Step 9: Reconnect the Display and Battery
Next, reconnect all the display cables to their respective positions on the motherboard, and then connect the battery connector.
Step 10: Test the New Screen
Next, turn on your phone to check how well your new screen works. You should check if it works as expected and if it has any issues like dead pixels.
Step 11: Reassemble the Phone
After checking your new screen to ensure it works well, you should then reassemble your phone by placing your new screen in position and making sure it fits well in your phone’s body. You should then reinsert all the screws you removed earlier and then your SIM tray.
Step 12: Final Clean and Seal
After your new screen is well in position, you should then clean your phone to remove any fingerprints or dust that may be on your phone. You should then use a microfiber cloth to wipe your phone and ensure there is no residue left on your phone.
Also Check: Samsung Galaxy S26 Ultra Accessories: Enhance Your Phone’s Performance and Style
Important Tips for Samsung S25 Ultra Screen Replacement
- Take Your Time: You should avoid rushing through this process since it may result in mistakes, particularly when handling sensitive internal components.
- Use the Right Tools: You should avoid using inappropriate tools since it may result in damaging your phone or voiding your warranty.
- Test Your Phone Before Sealing It: Before sealing your new screen with adhesive, it is vital to ensure that it works.
- Don’t Forget to Apply Adhesive: You should avoid failing to apply adhesive to your phone since it may result in your new screen peeling off in due course.
Conclusion:
Replacing the screen in your Samsung S25 Ultra device is a very cost-effective way of fixing your damaged screen. This article has provided detailed steps on how to replace the screen in your device. If you are not very sure about replacing the screen in your device on your own, it is always advisable to take your device to a repair shop where a professional will replace the screen in your device.
With the steps provided in this article, your Samsung S25 Ultra device will be in working condition in no time and ready for your use. For high-quality replacement screens and tools, visit Ishine Trade for the best deals and professional support.